In this guide, we will walk you through how to add, update, and activate a driver on your platform.
Section 1: Adding a New Driver
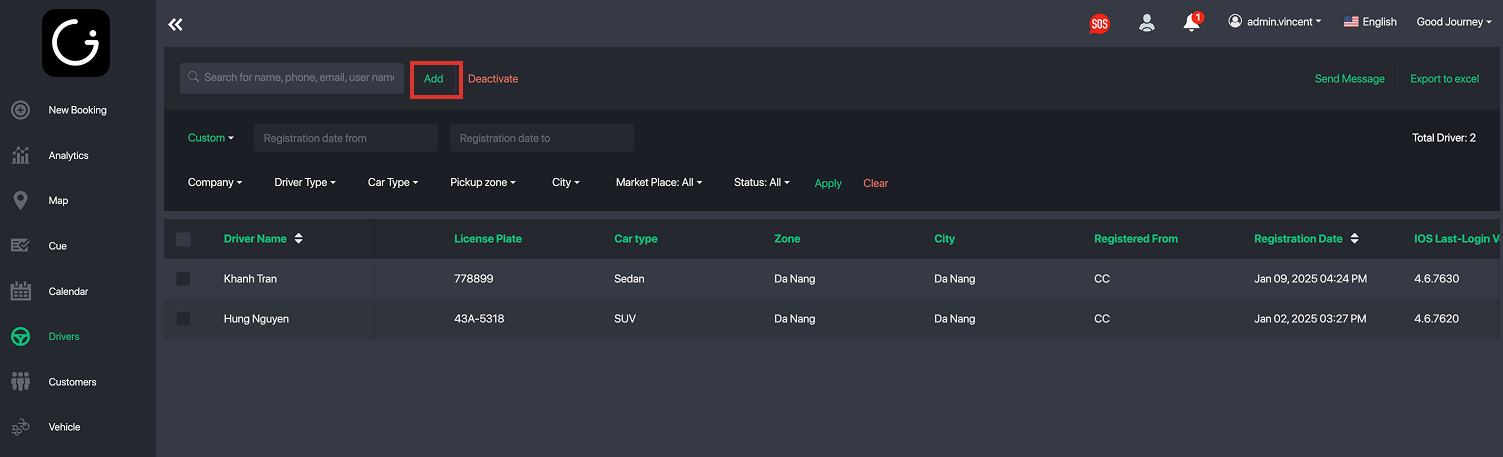
Navigate to the Driver Management page and click Add Driver.
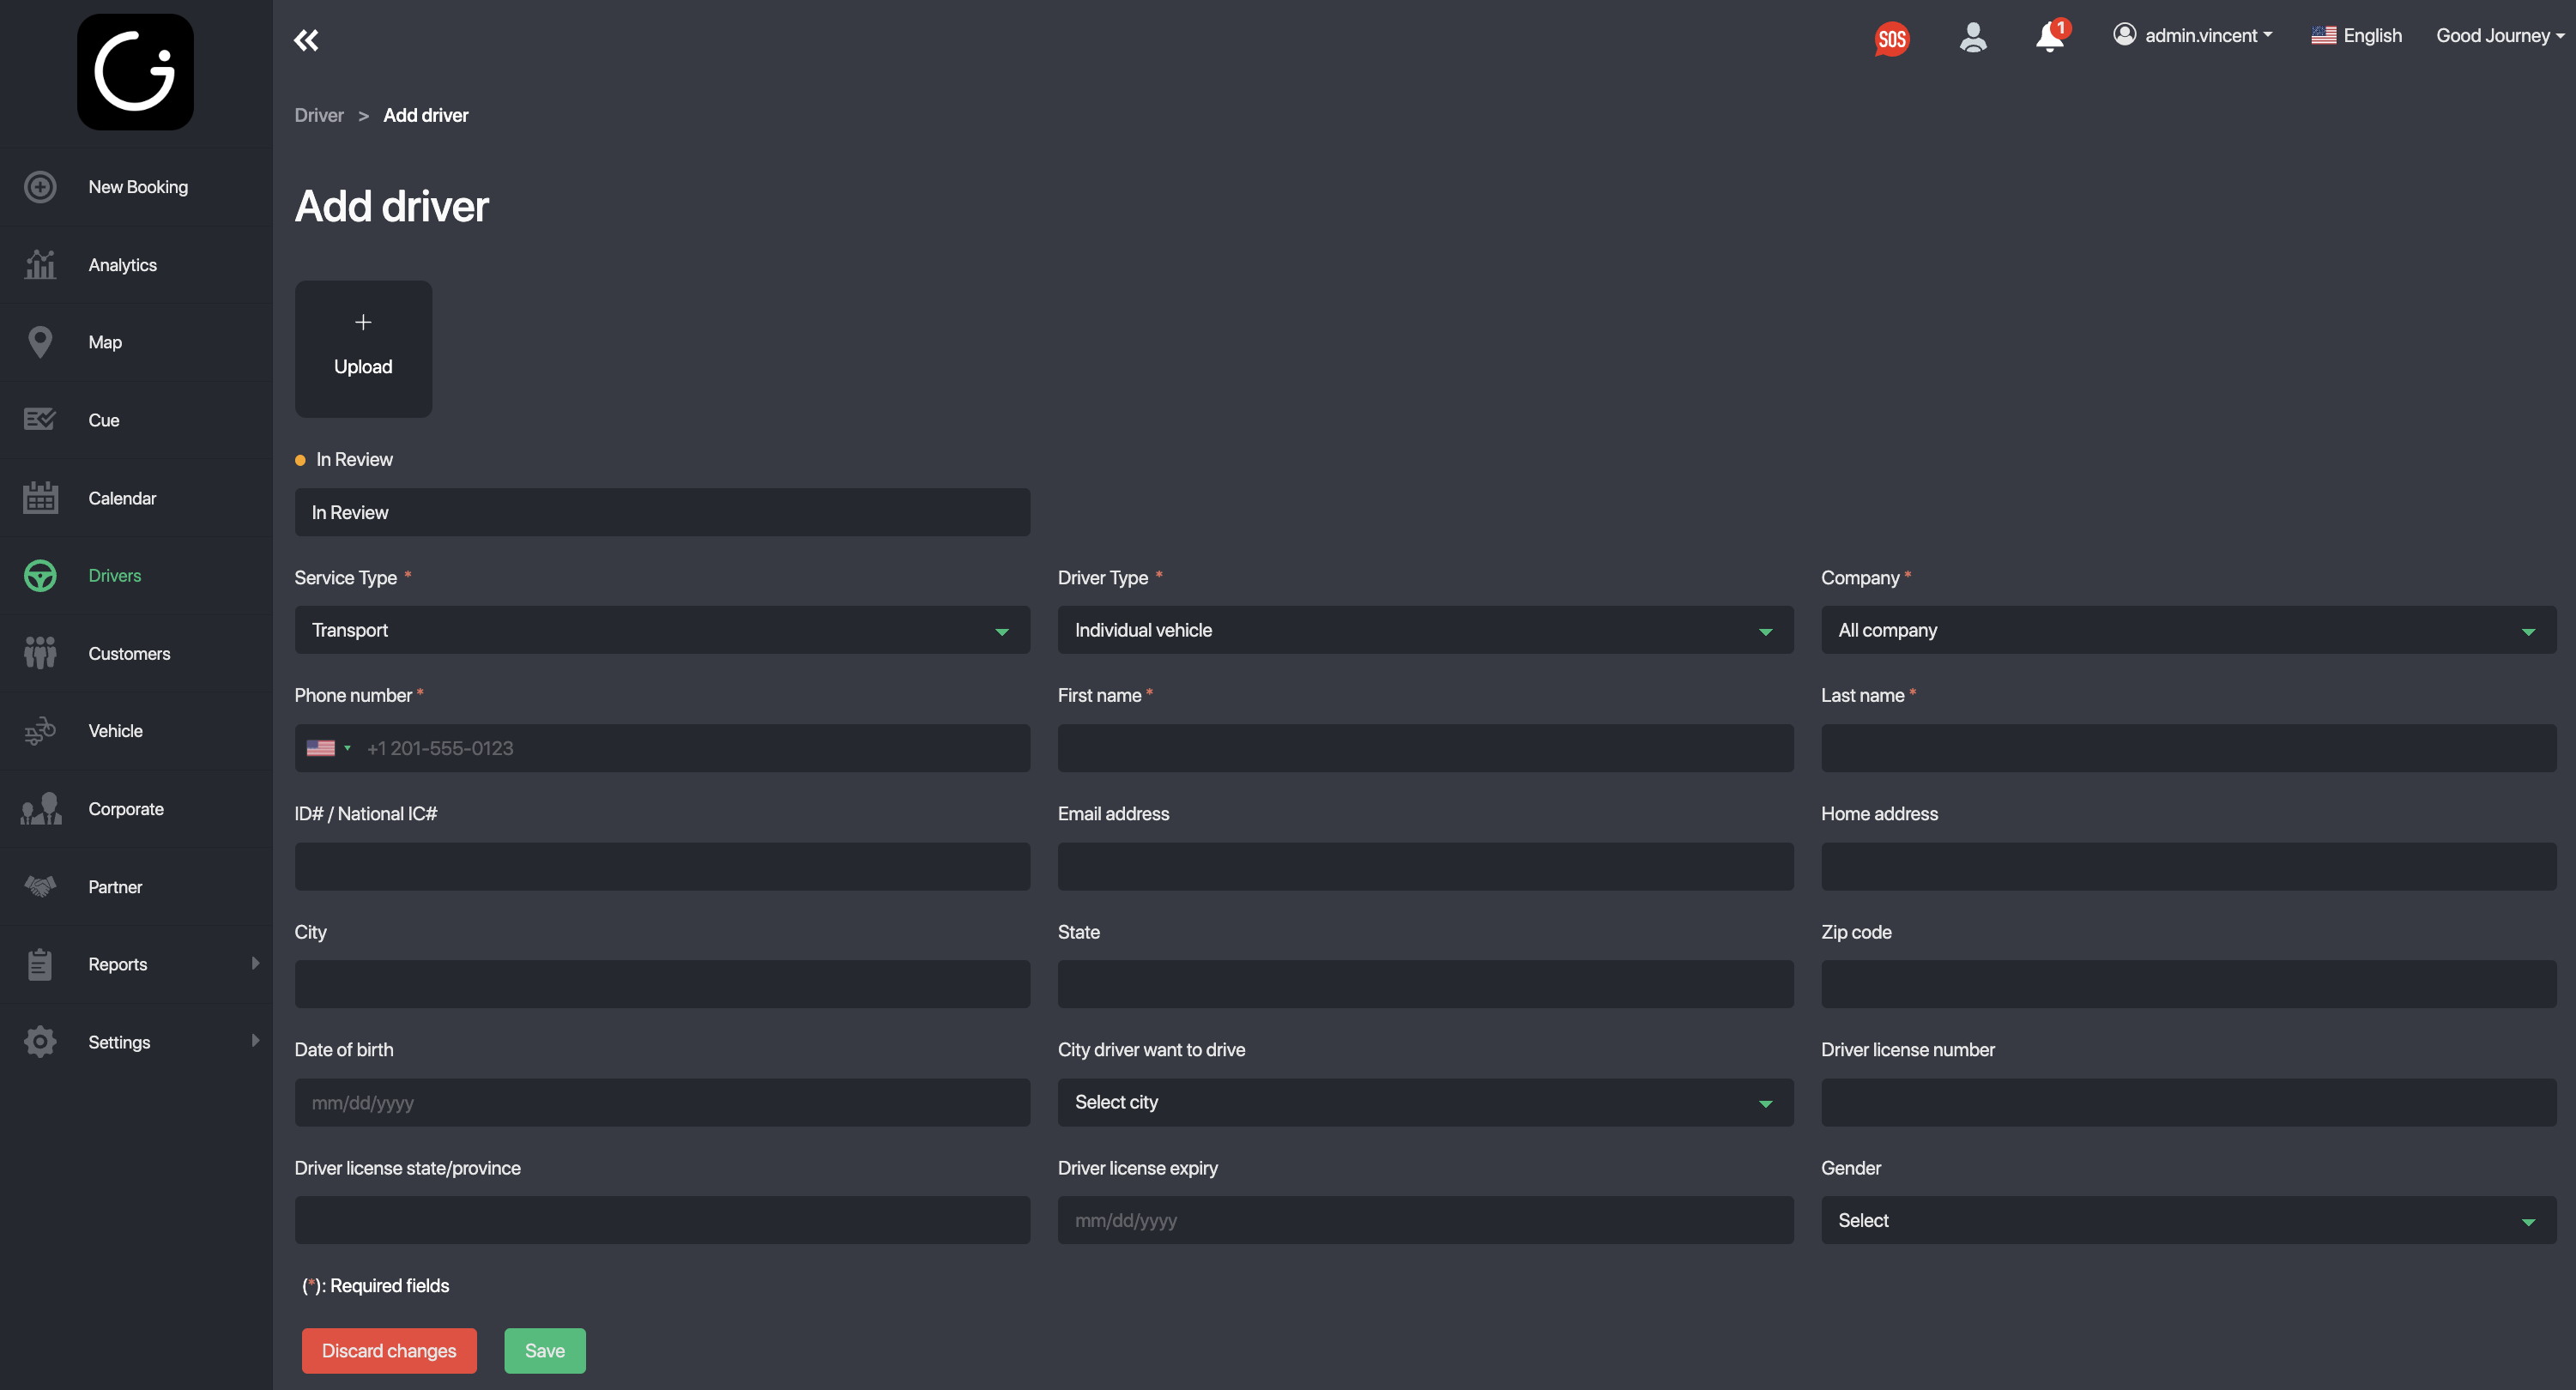
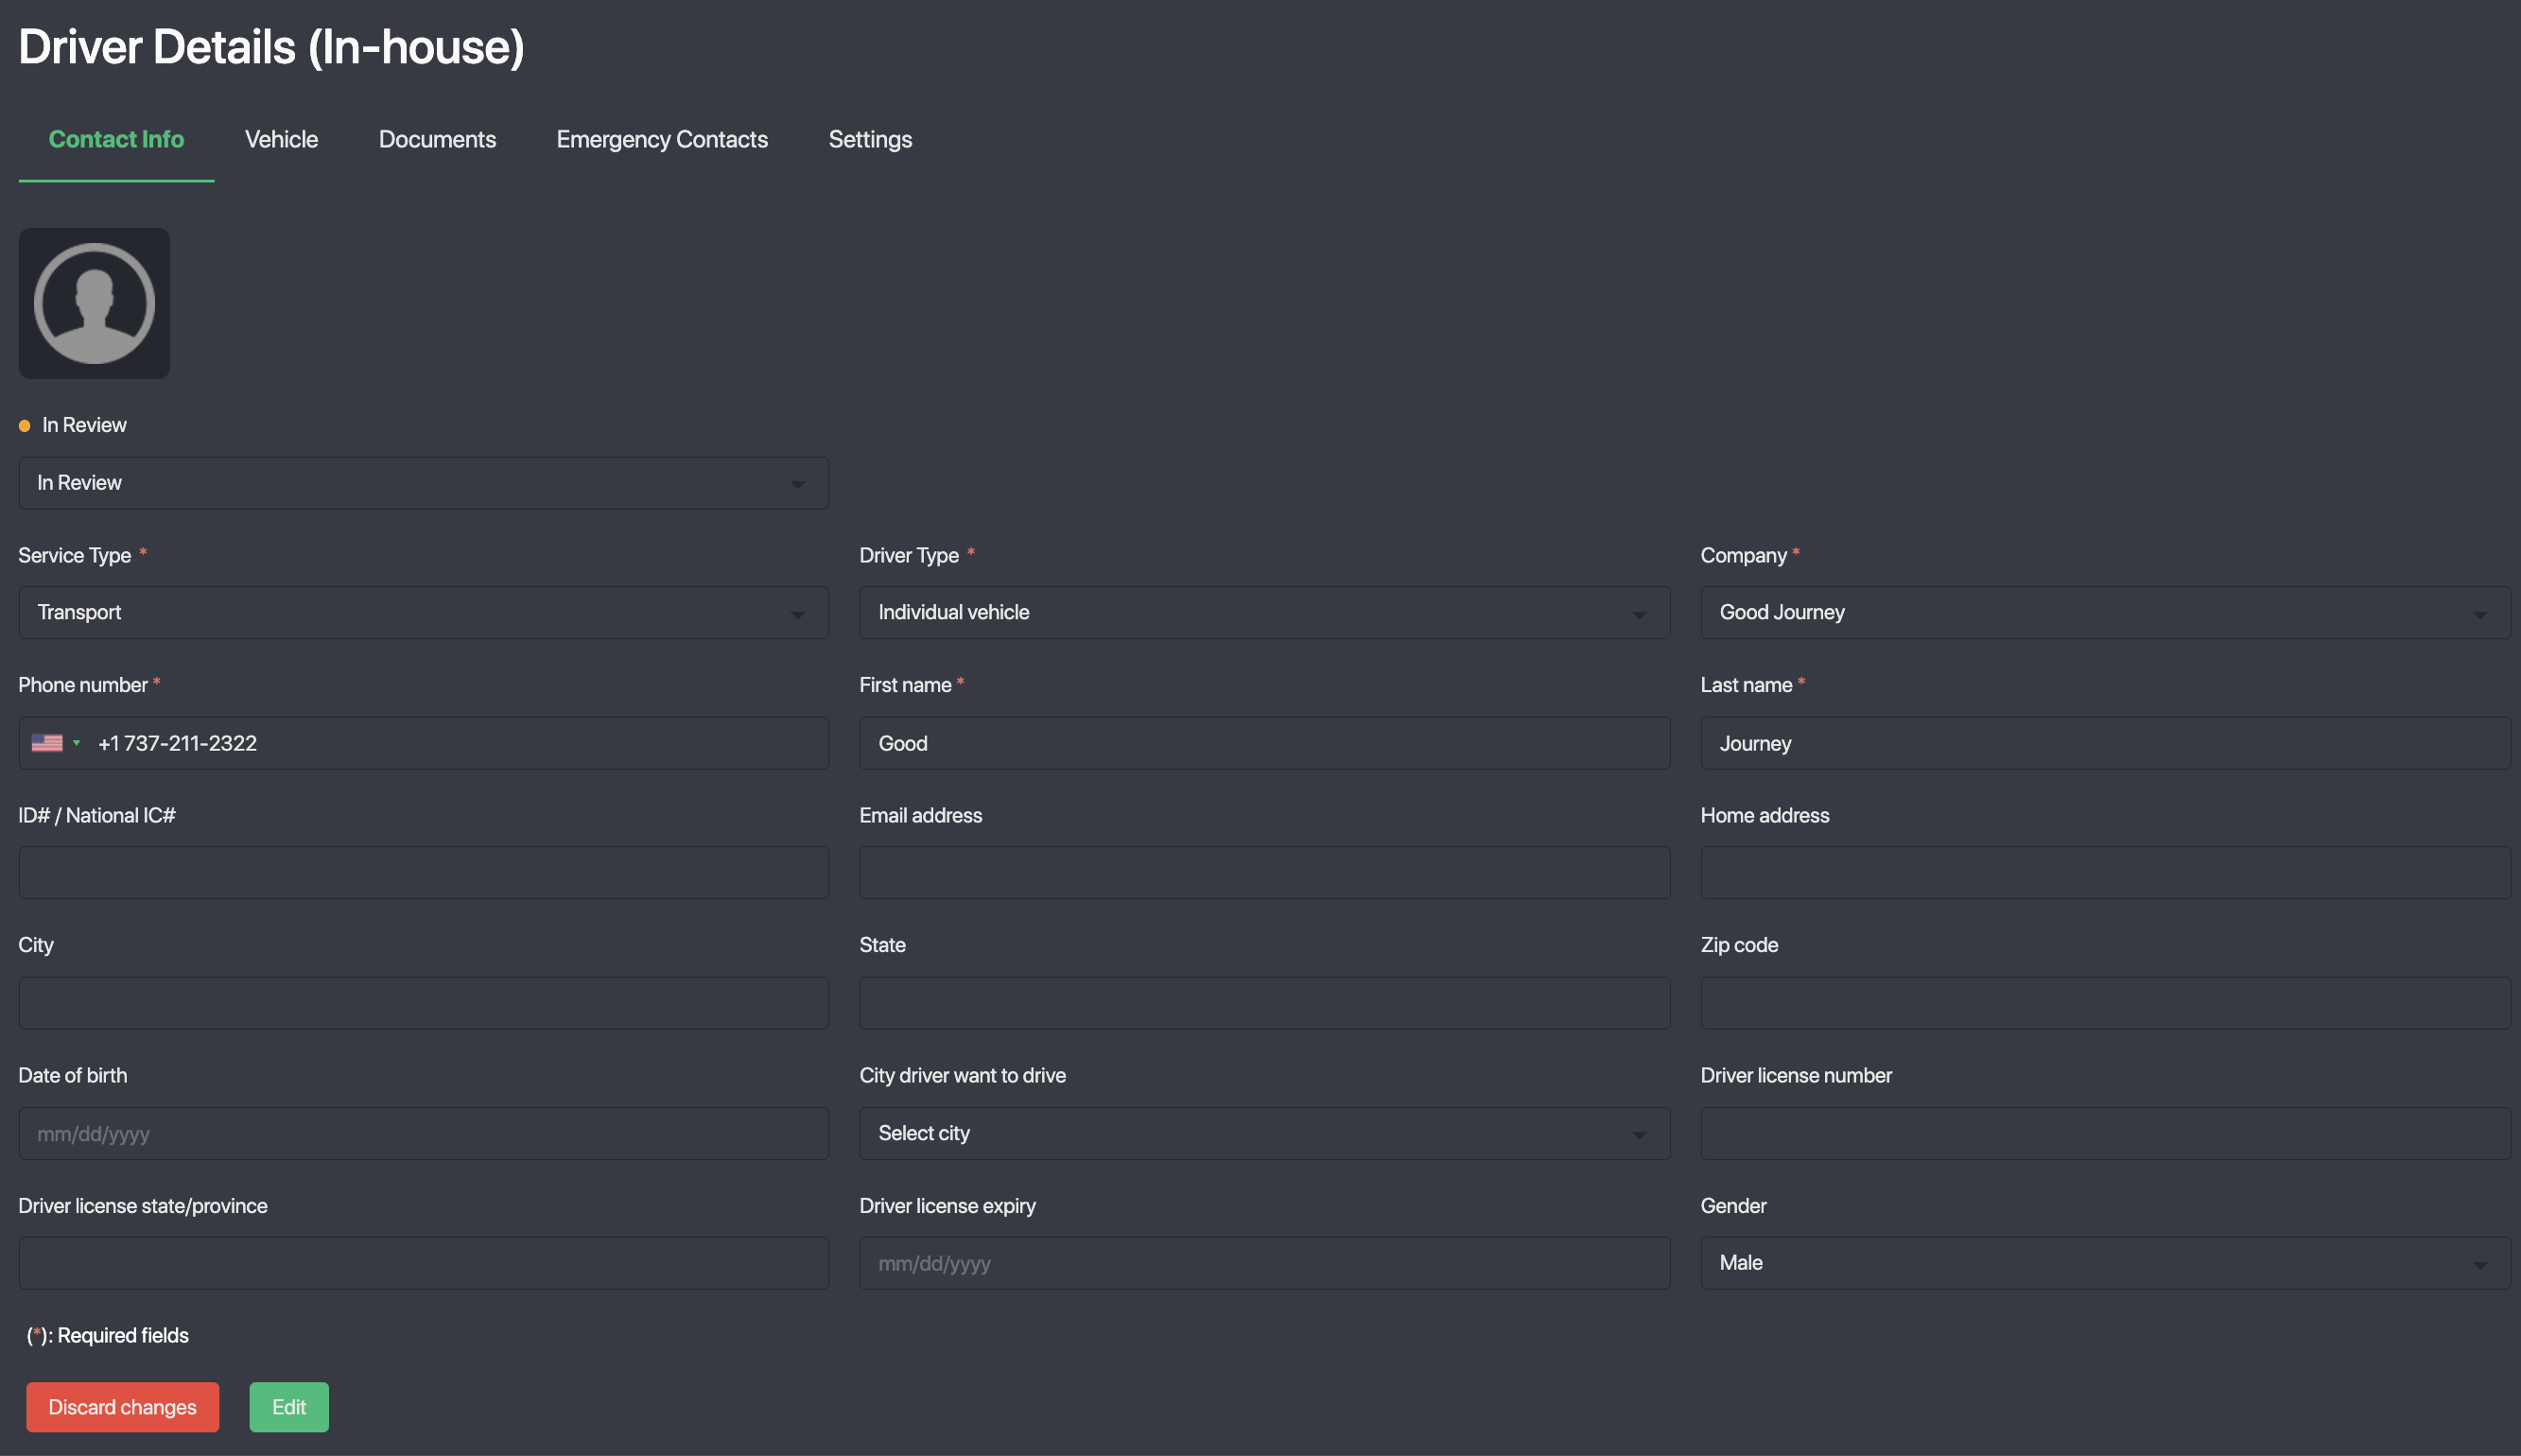
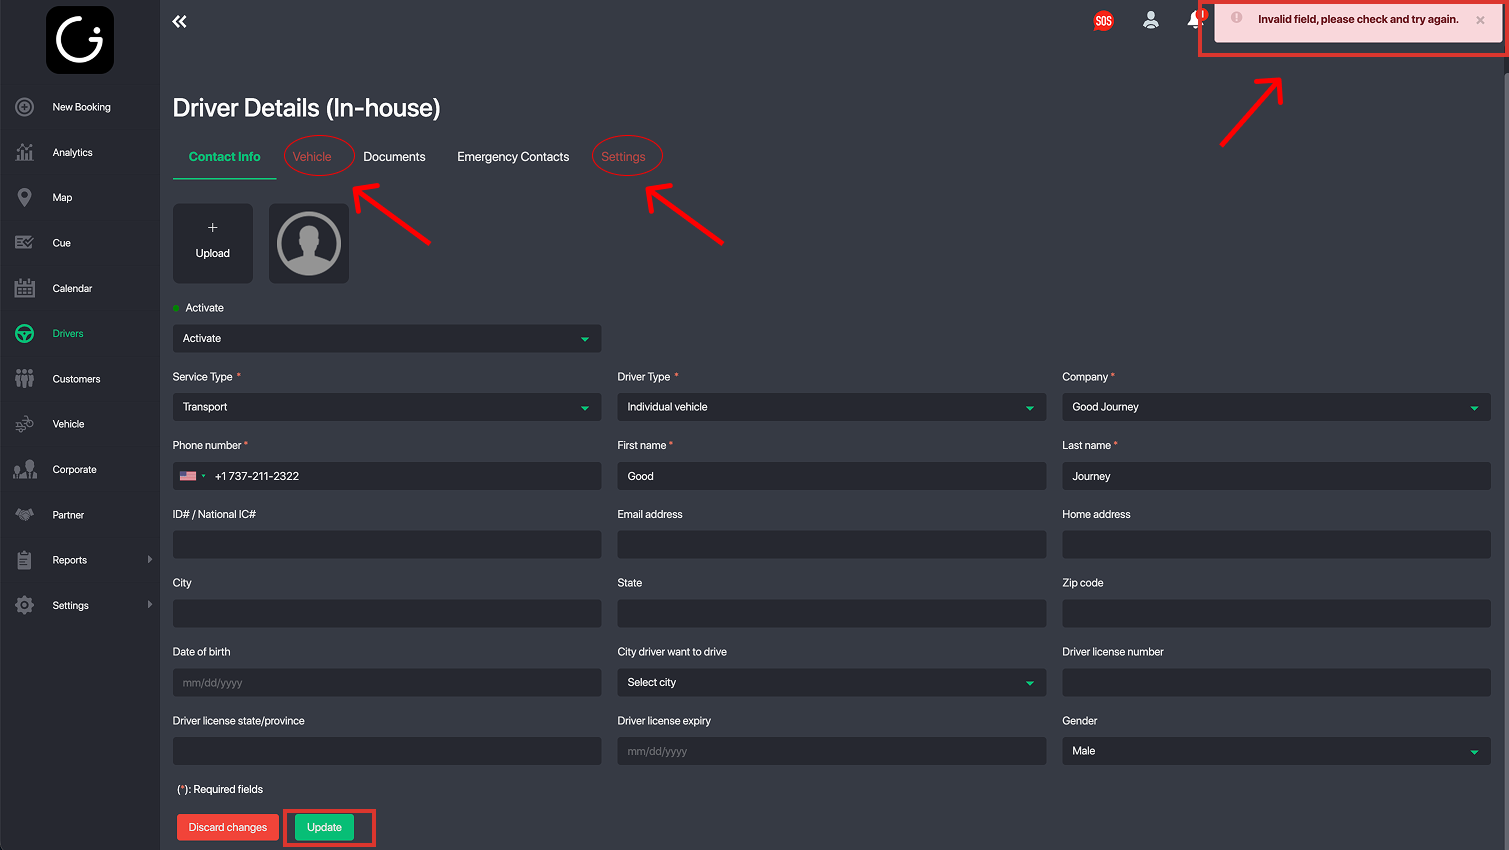
You can now create a new driver profile by entering the following information:
- Driver Image (ensure it looks professional, as customers will see this)
- Service Type
- Driver Type
- Company
- Phone Number
- First Name
- Last Name
- ID# / National IC#
- Email Address
- Home Address
- City / State / Zip Code
- Date of Birth
- City the driver wants to operate in
- Driver License Number
- Driver License State/Province
- Driver License Expiry
- Gender
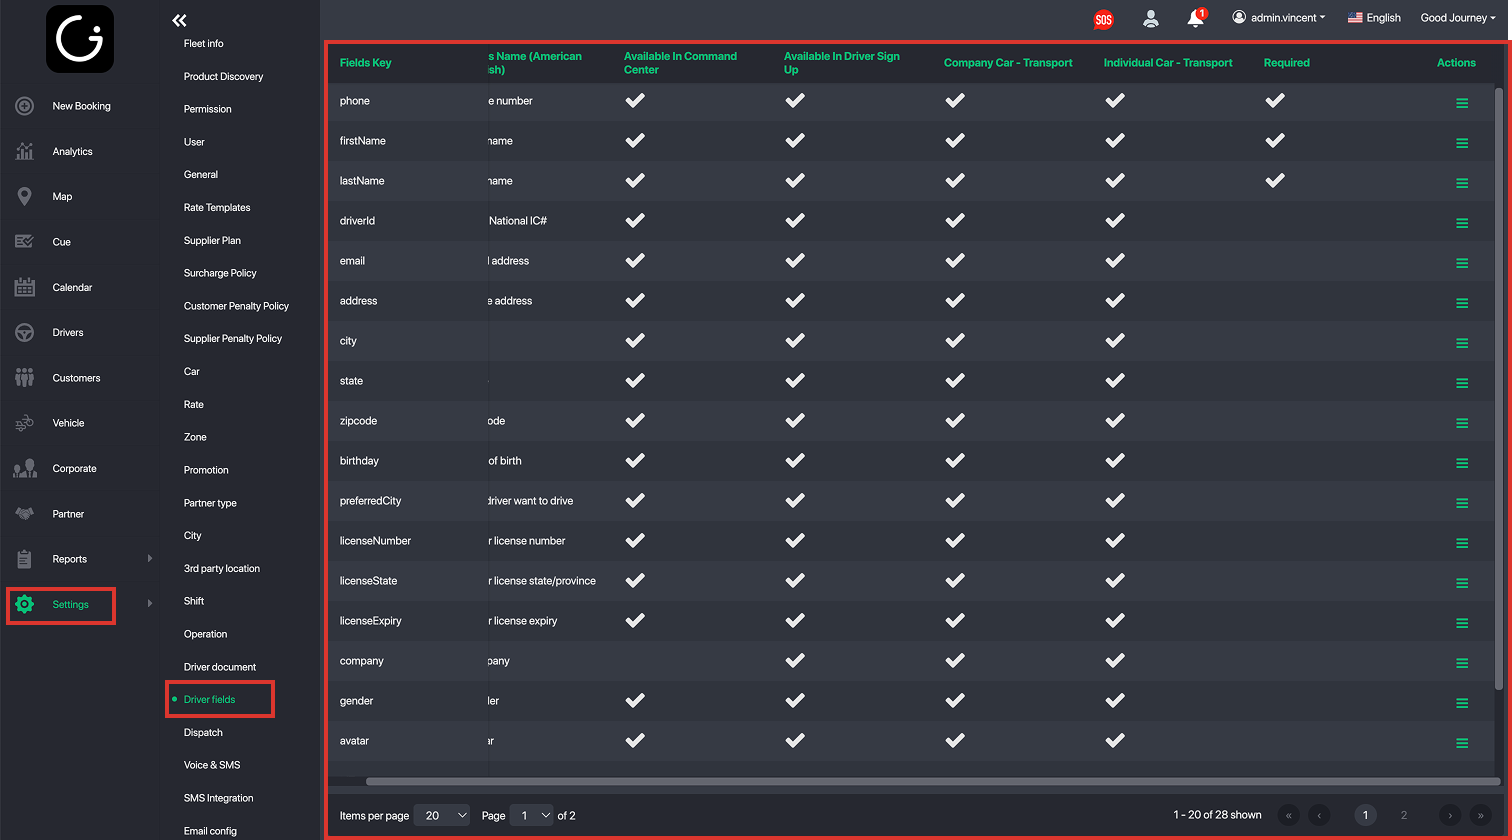
You can customize required or visible fields under:
Settings → Driver Fields
https://cc.goodjourney.io/settings/Driver_fields
Section 2: Driver Profile Overview
After creating a driver, open the driver profile. You will see several tabs:
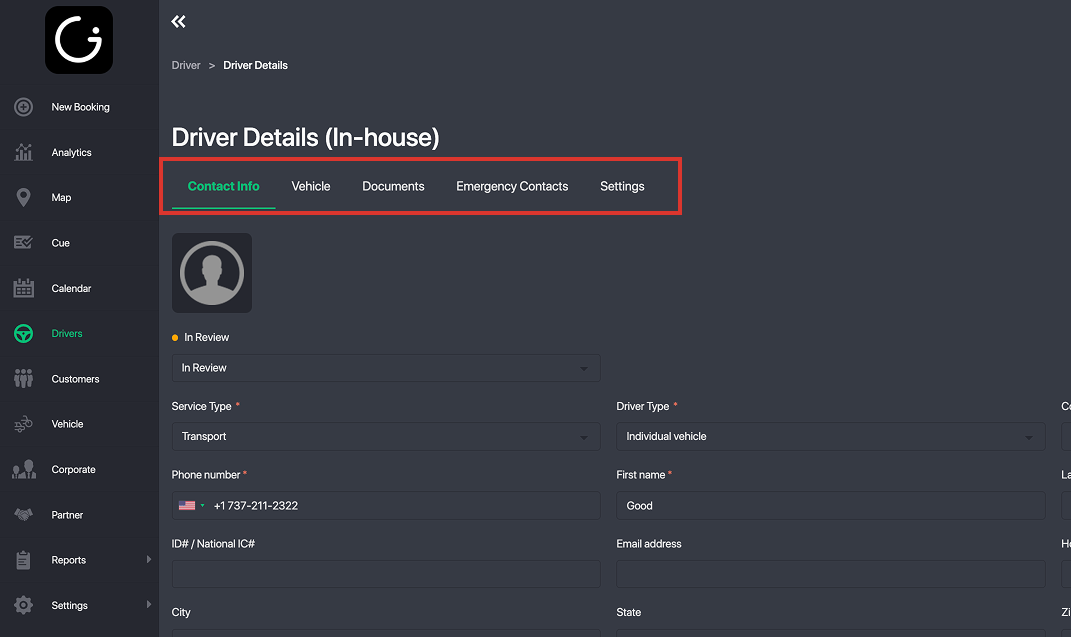
Contact Info Tab
Basic information about the driver.
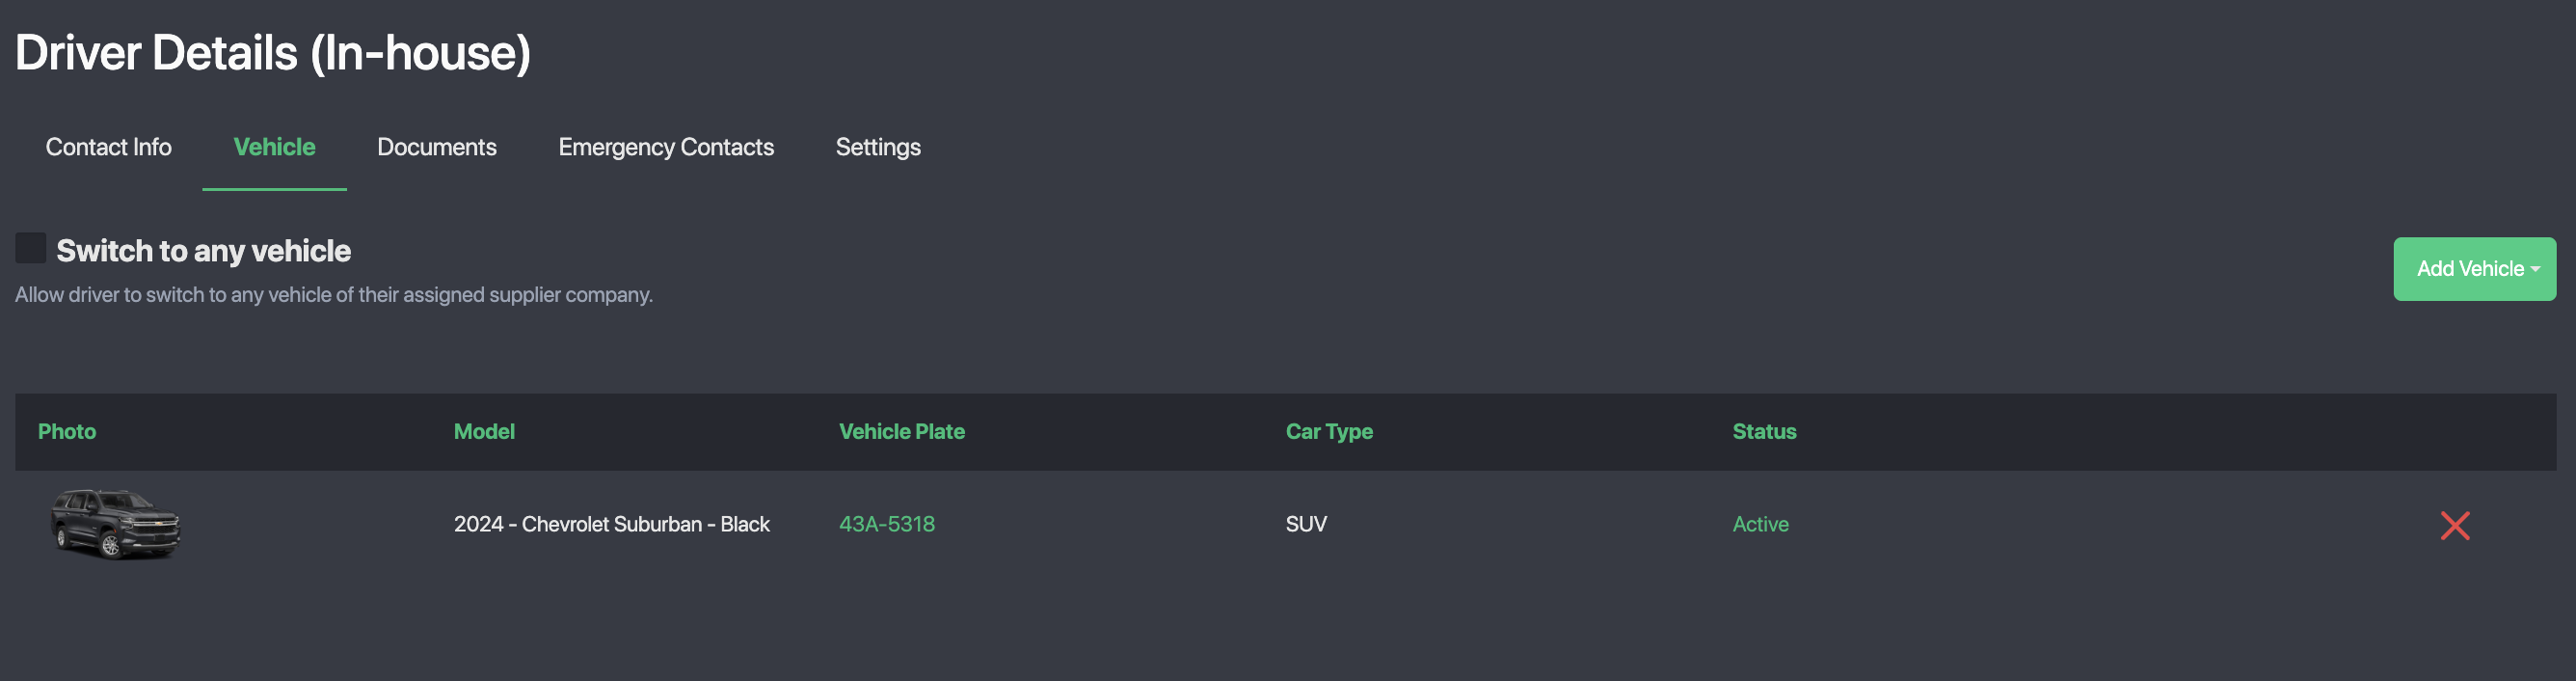
Vehicle Tab
- Link one or multiple vehicles to the driver.
- If the driver is an employee and may drive any company vehicle, enable Switch to Any Vehicle.
- This allows dispatch to assign the driver to any vehicle during bookings.
Documents Tab
- Upload required driver documents.
- Add the document’s expiry date.
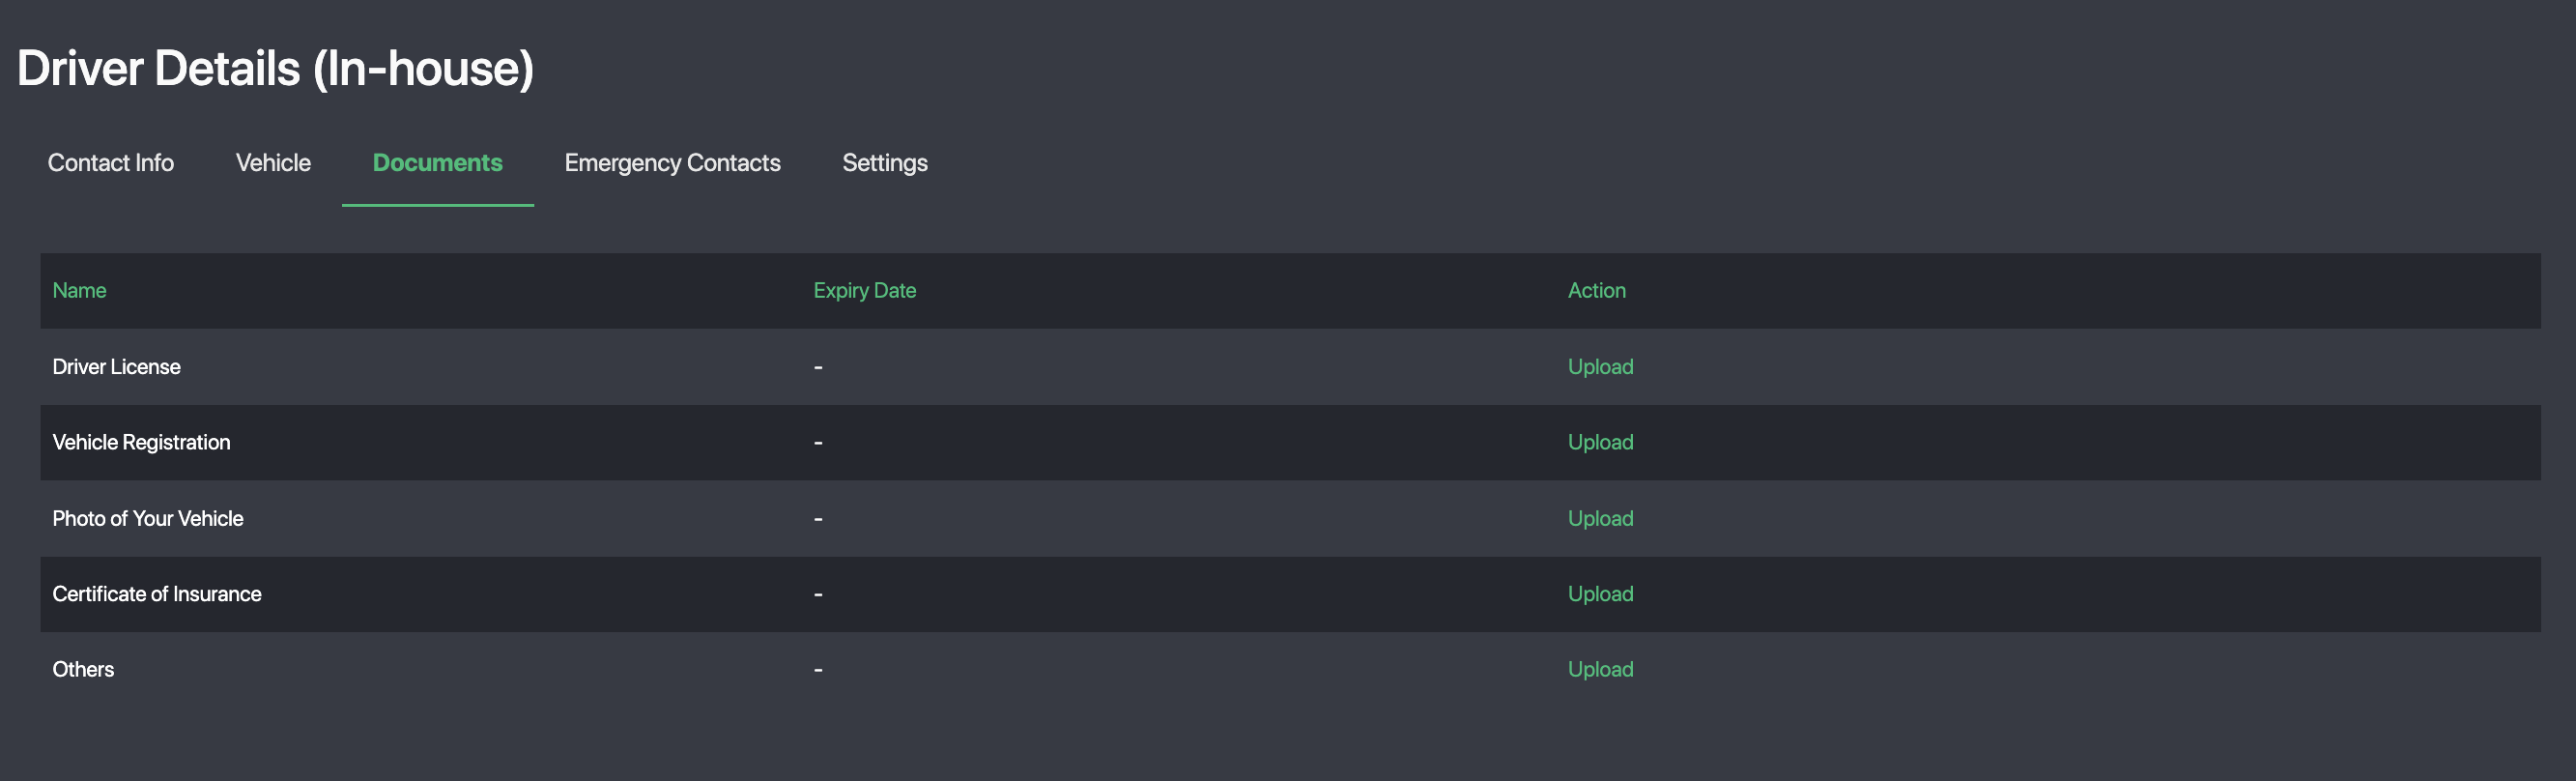
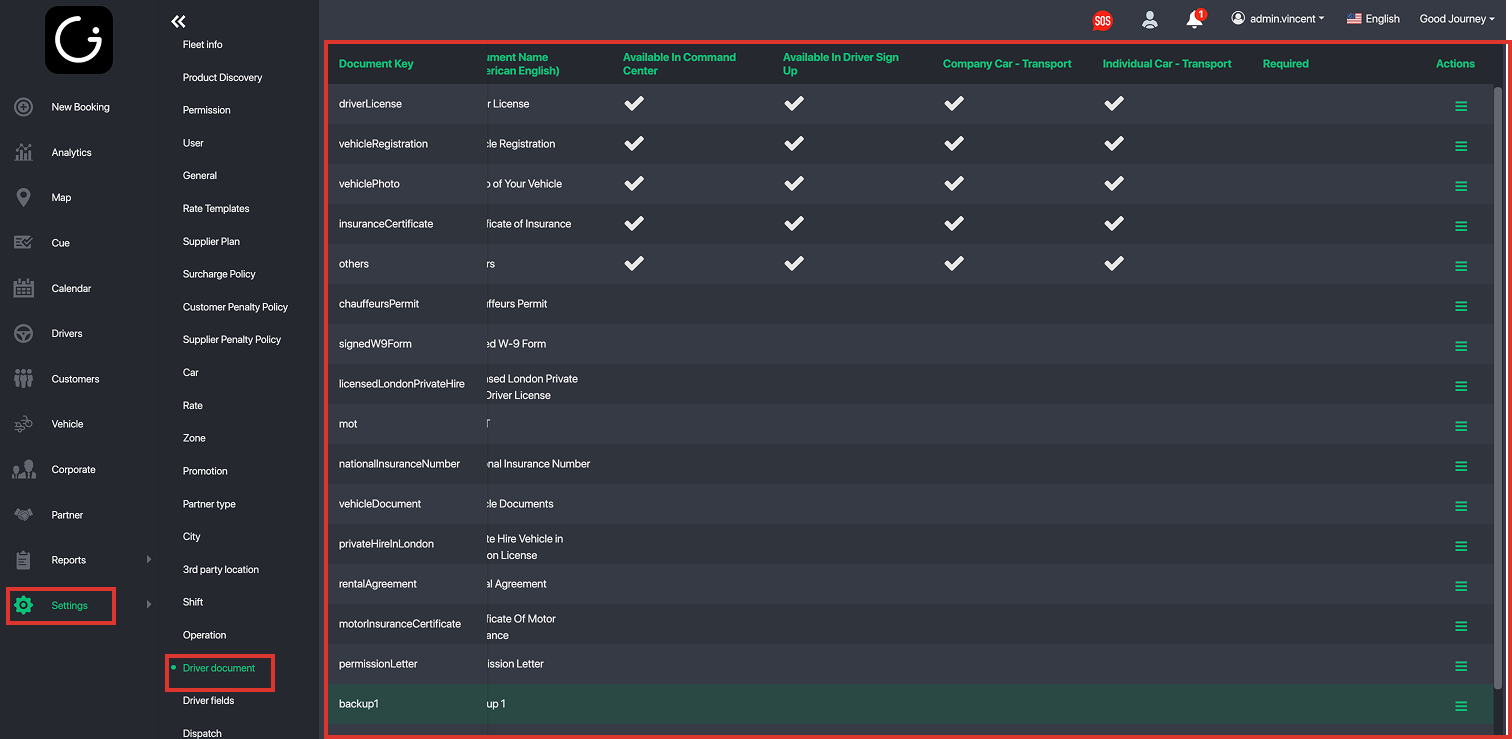
- You can customize the required documents by going to Settings → Driver Document
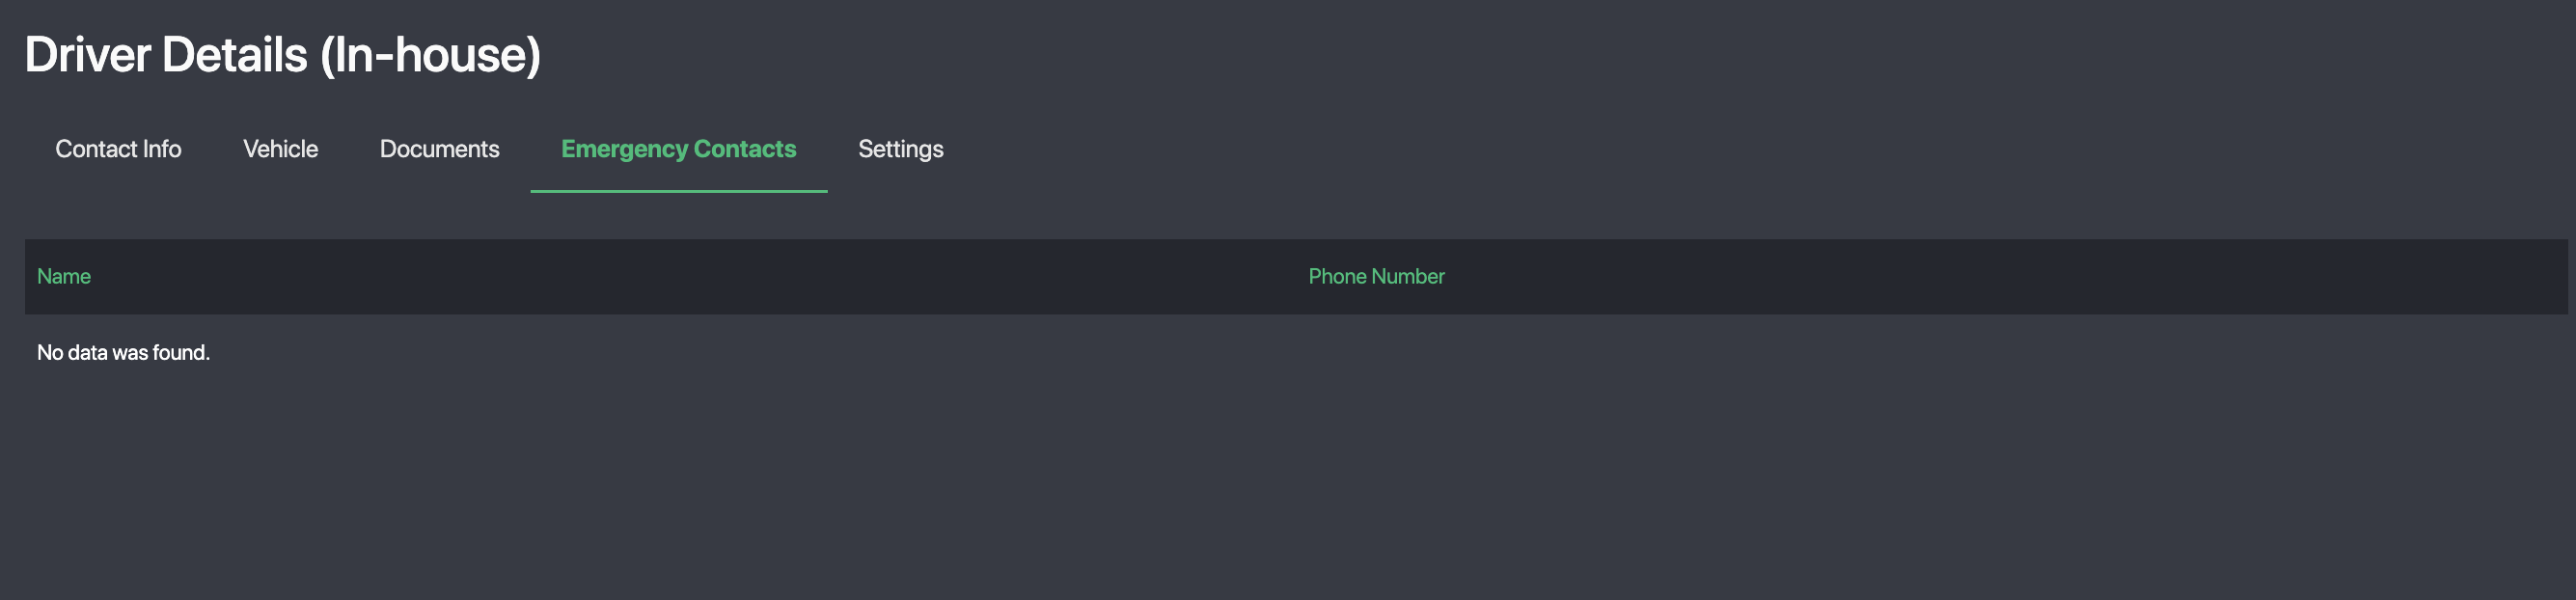
Emergency Contacts Tab
- Stores the driver’s emergency contact details.
- Drivers can also add or update this via their Driver App settings.
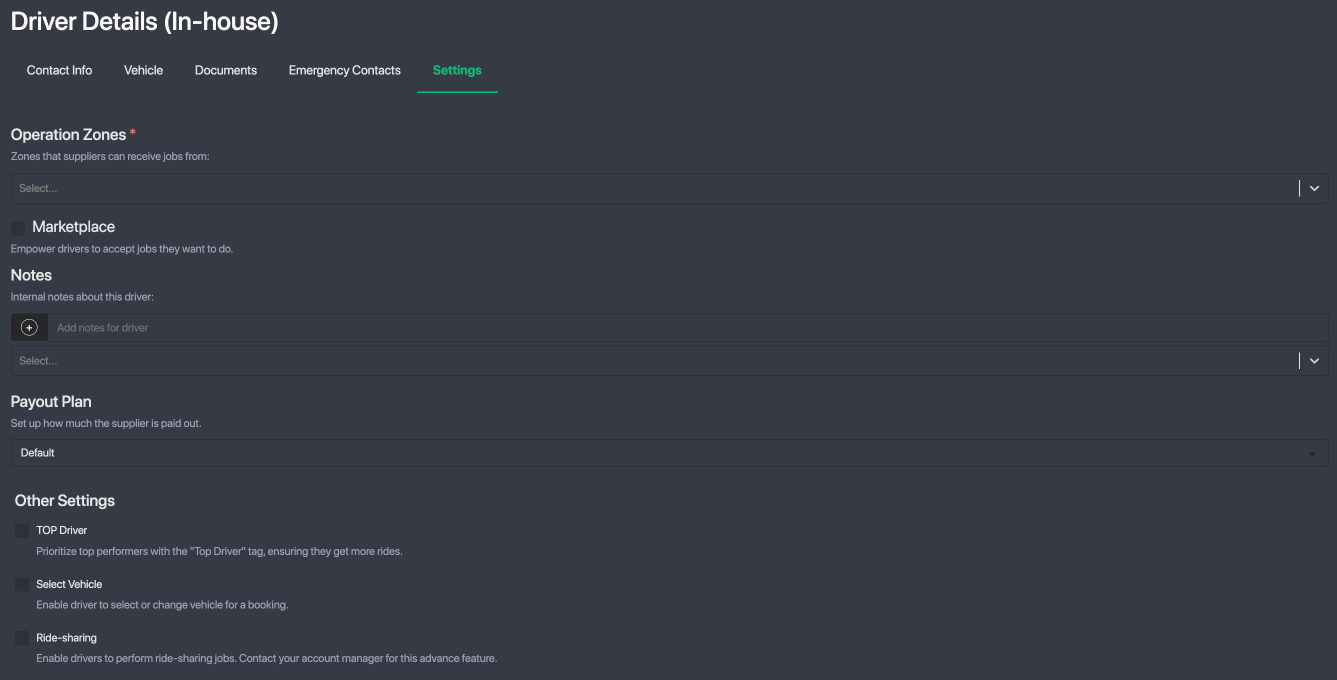
Policy & Settings Tab
This tab includes all driver-specific policies:
- Operation Zone
Defines where the driver can receive jobs. - Restricted Zone
Create a custom zone where the driver can receive jobs (used for advanced restrictions). - Marketplace Access
Determines whether the driver can view and select jobs from the job board. - Notes
Add internal notes or tags about the driver. - Payout Plan
Defines how the driver is paid per booking.
By default, the driver follows the platform’s standard payout rate, but you can customise payouts individually. - Other Settings
- Top Driver: Prioritise this driver for more assignments.
- Select Vehicle: Allow the driver to switch between approved vehicles in their app.
Section 3: How to Activate a Driver
To activate a driver, update their Activation Status in the driver profile.

Possible statuses include:
- In Review
- Deactivated
- Activated
Before activating a driver, ensure the following criteria are completed:
Required Activation Checklist
✅ A vehicle is linked to the driver OR “Select Any Vehicle” is enabled
✅ Operation Zone is assigned
✅ Mandatory documents are uploaded (if your settings require it)
✅ Policies are correctly configured based on your fleet rules
Once all requirements are met, change the status to Activated.
Your driver is now ready to receive bookings through the GoodJourney.io platform.
Was this article helpful?
That’s Great!
Thank you for your feedback
Sorry! We couldn't be helpful
Thank you for your feedback
Feedback sent
We appreciate your effort and will try to fix the article